With the robust functionality of Prima.Law, you can begin your workflow either in Prima.Law or you may have received your first touchpoint in another piece of software and are bringing that data into Prima through the API or Zapier. For purposes of this article, we will assume you are beginning in Prima.Law.
-To begin the process, we will create a new contact in Prima.
-The next step will be to enter some basic information for this contact.
-Next we will want to create a case for this contact. This contact should be the immigrant (if you are working on an immigration case).
(We will assume the client has signed the retainer agreement, and you have processed their initial payment in PrimaPay.)
-Now you can create the case from the contact page.
-Once the case is created, you will need to decide how you want to begin entering data for the case.
-This is usually a combination of the following:
- Sharing the checklist with the client via the client portal so they can begin securely uploading documents to the checklist.
- Entering data in the contact profile with the client.
- Using a smart interview for the assistant or the client to start entering information in an interview-like format
- Entering information directly into the USCIS forms and using the reverse-autofill to accurately and efficiently populate the following forms (avoiding entering the same data twice).
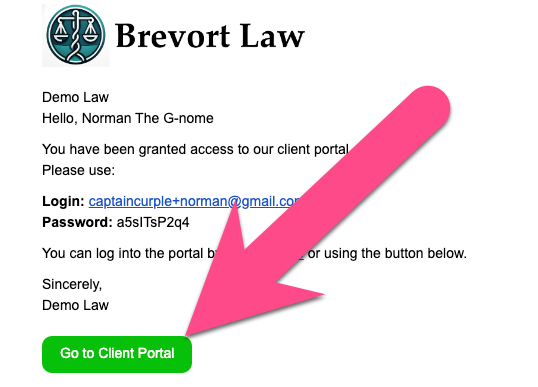
Share the client portal with the client
This is recommended immediately when you sign up your client.

- Make sure to assign your contact an email address.
- Click to enable the client portal.
- they will receive an email address with a simple button to log into their client portal.
Your client will open the portal and see this:

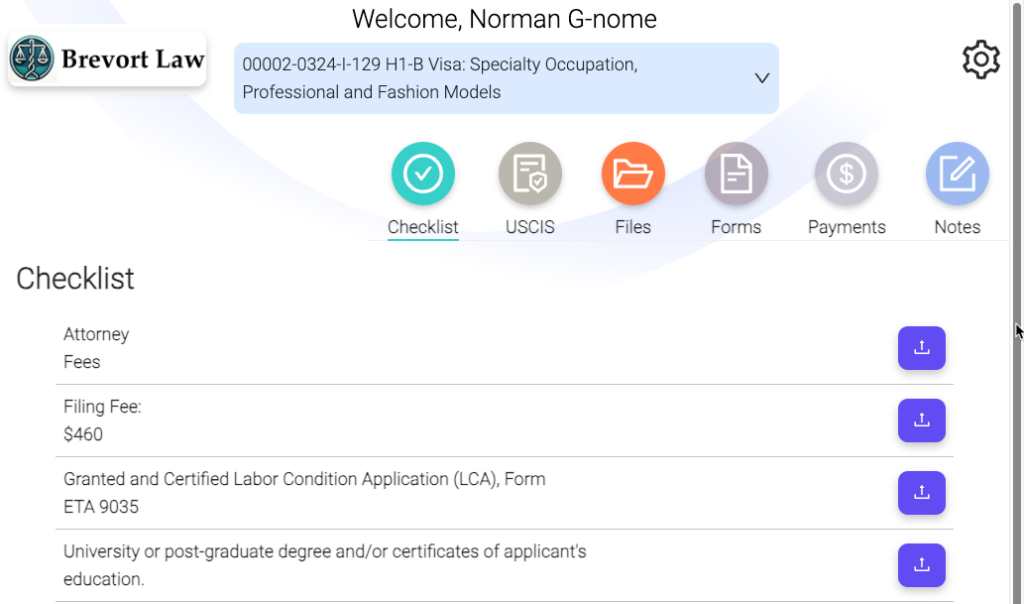
They will be directed straight to the checklist for their most recently opened case by default. This is where they will upload documents to the case.
Enter Data in the Contact Page
When you are familiar with the cases, you can enter necessary information directly into the database via the contact profile.
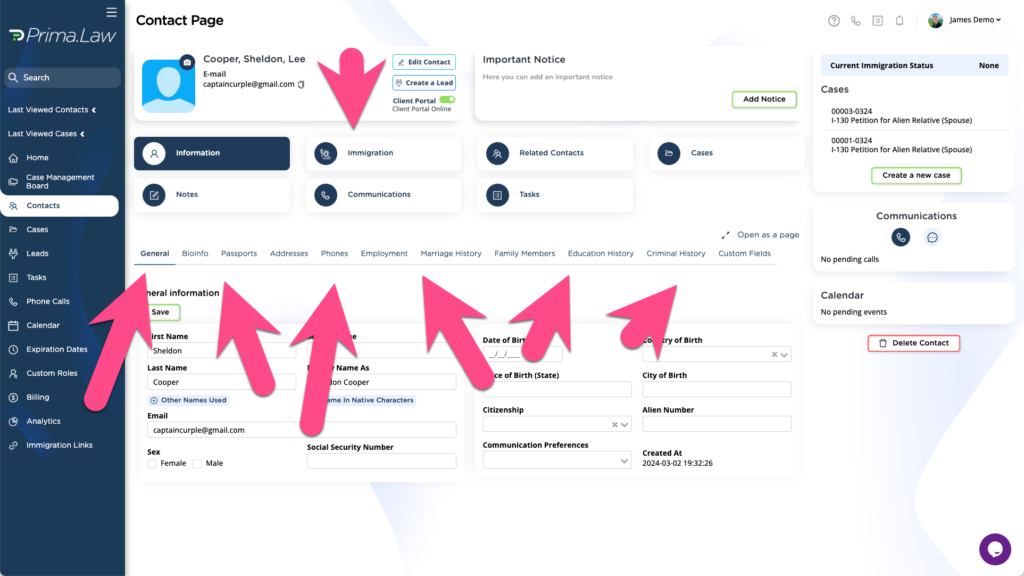
We built prima to hold all the necessary data for future use. You can choose to enter that information directly here. For things like address history, employment history and criminal history, this is a good option, although our smart interviews are very convenient for this as well.
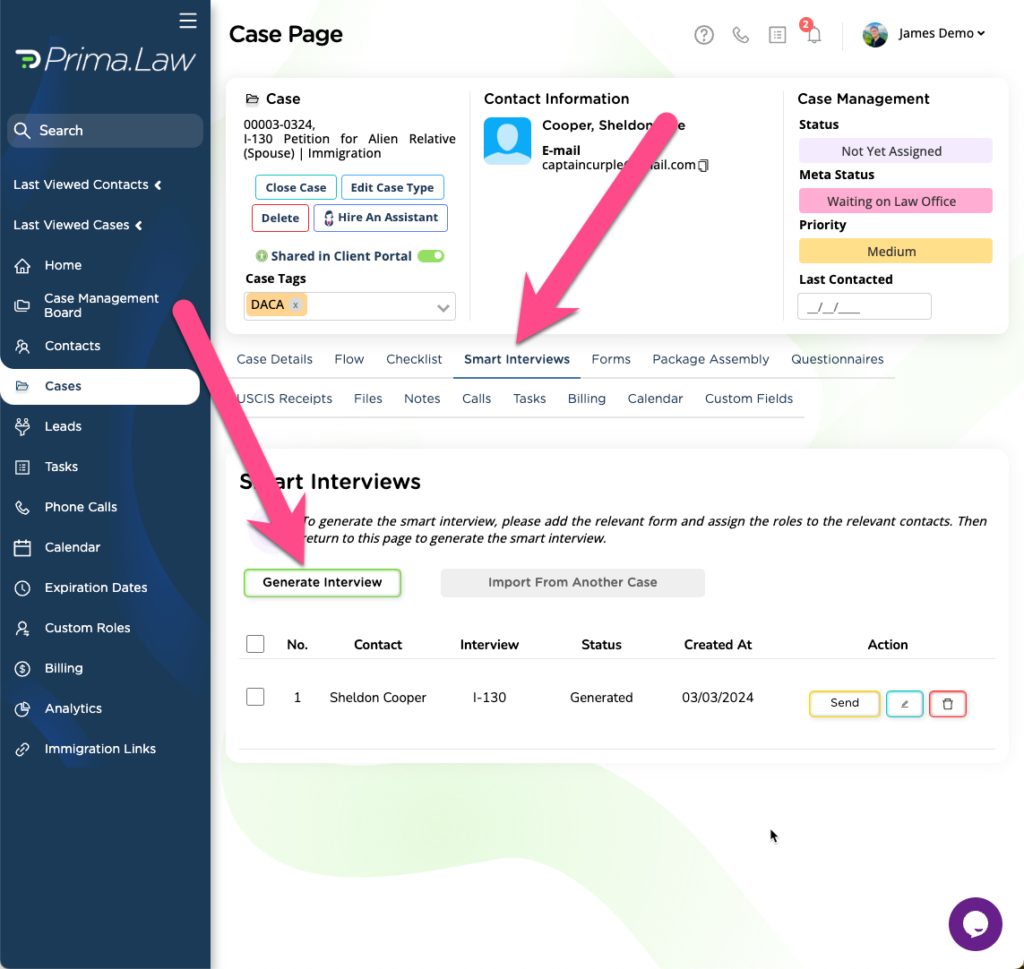
Create and Share Smart Interviews for Use
Our new Smart Interviews feature is designed to gather the necessary data in a convenient smart-interview format. This can be shared with clients or your staff can use them to quickly enter the required information.
- Make sure this feature is enabled from the Administrator Panel
- Choose the roles for the forms you wish to generate the smart interviews for.
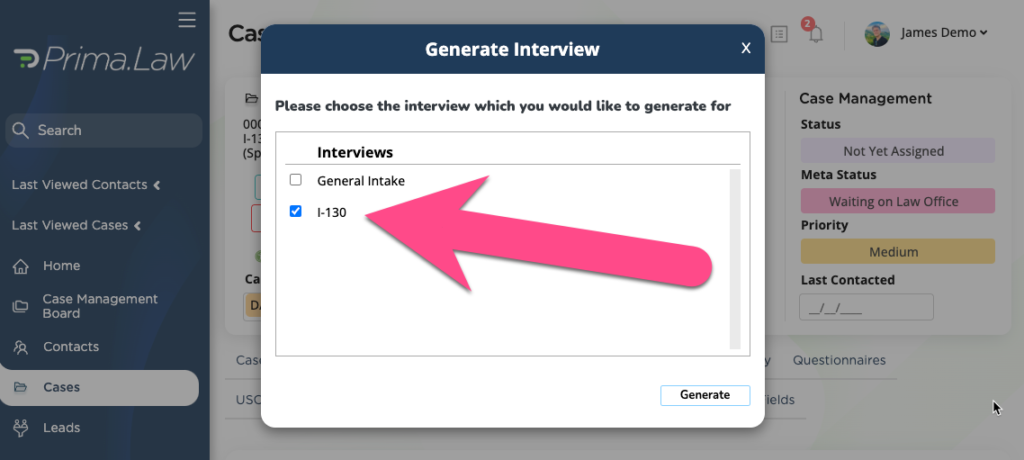
- Navigate to the smart interviews tab and click generate interview
Select the desired interviews to generate
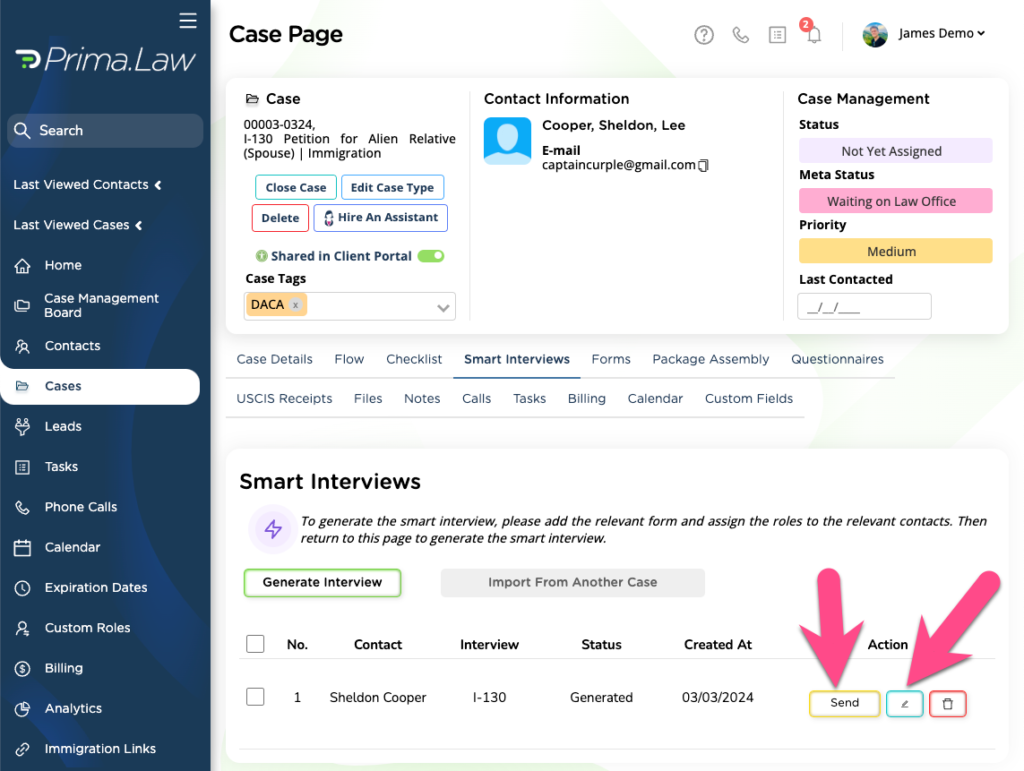
- Share these interviews with the client or have the paralegal use them to enter case data based on client interview.
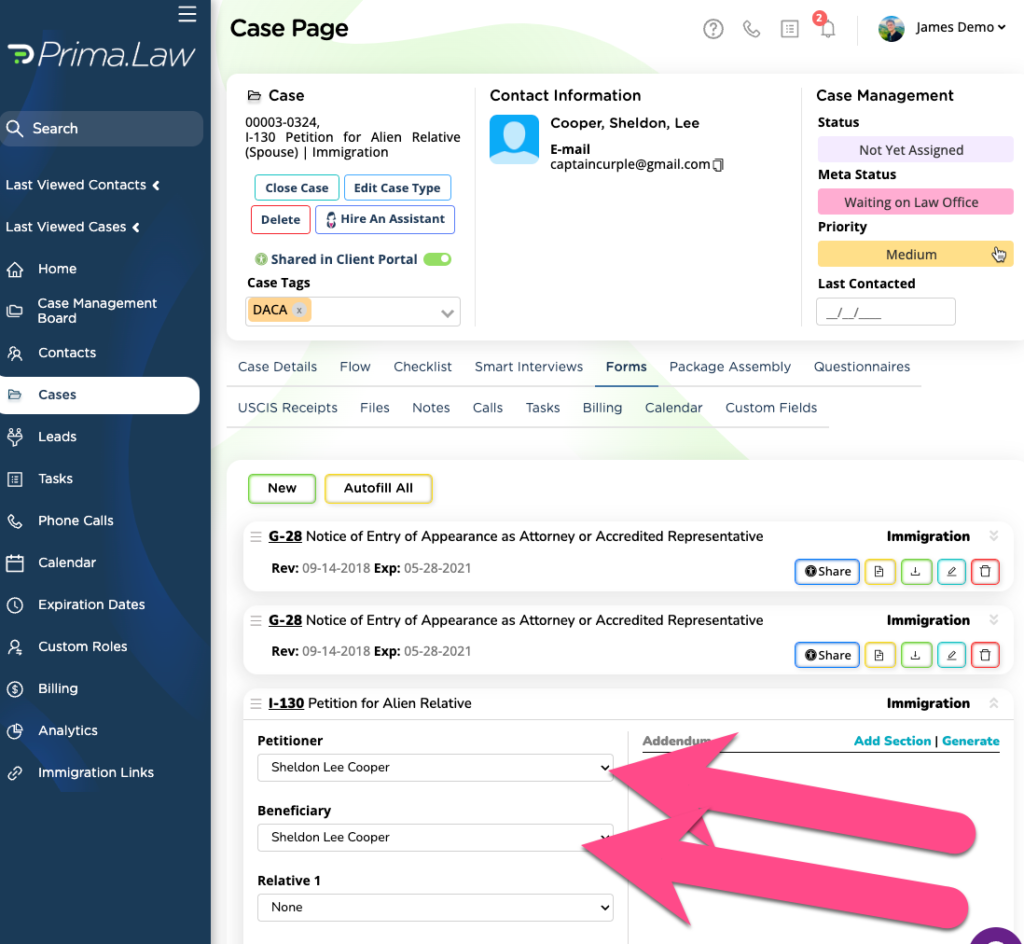
Fill the Forms Directly with “Reverse-Autofill” enabled
Prima.Law has the first and best system for reverse-autofill and best forms experience. You can go directly to the forms and start entering data and Prima will save your data and auto-populate subsequent forms with the appropriate data you provide.
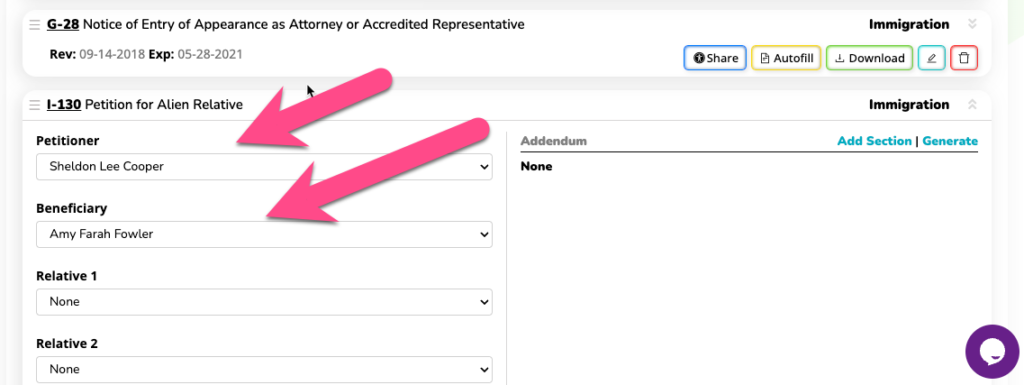
Make sure to define which contact fills which role.
